
Table of Contents
Getting Started with Docker for Web Apps
Docker makes it incredibly easy to package your web applications — along with its environment, dependencies, and other settings — into a container that runs the same on different machines. Whether you’re on macOS, Windows, or Linux, your app will behave exactly the same!
In this Guide, We Will:
- Build a simple Flask app
- Create a Dockerfile to package it
- Run the app in a Docker container, and visit it via localhost
- Use Docker Compose to simplify all of the previous steps
Step 1: Create the basic flask app, and requirements.txt
We’ll start with a very basic Flask app that responds with a message when you visit the homepage.
app.py
from flask import Flask

app = Flask(__name__)

@app.route("/")
def hello():
    return "Hello! This is from the Docker container!"

if __name__ == "__main__":
    app.run(host='0.0.0.0', port=5007)
requirements.txt (our dependencies for the web application)
flaskStep 2: Create our Dockerfile
This file tells Docker how we are going to setup our environment for our app inside the container
Dockerfile
# Choose any version of python from Docker docs, I randomly selected 3.9-slim
FROM python:3.9-slim

# Create a directory inside the container
WORKDIR /my-directory-name-inside-container

# Copy everything from your project directory into the container
COPY . /my-directory-name-inside-container

# Install Python dependencies from our requirements.txt
RUN pip install --no-cache-dir -r requirements.txt

# Command to run the Flask app, this is essentially the same as running python app.py locally
CMD ["python", "app.py"]
Step 3: Build the Dockerfile
(Make sure that you’re inside /docker-flask-demo)
Now on your terminal, we want to run the following commands to build the Dockerfile instructions to an image. The -t lets you tag your image name, and the . tells docker to build the image in this directory along your files
docker build -t name-of-my-docker-flask-image .Now if you built your image properly you can see the image via your terminal if you type the following command
docker image lsStep 4: Run the Container
We specified that our Flask application will be listening on port 5007, choose a valid port that is open on your local machine and map it. For example, there’s nothing running on port 5678 in my local machine so to map it I would type the following
docker run -p 5678:5007 name-of-my-docker-flask-image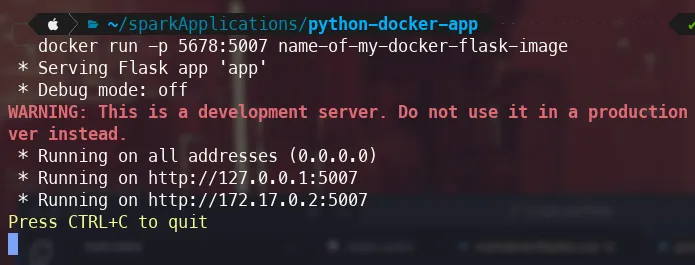
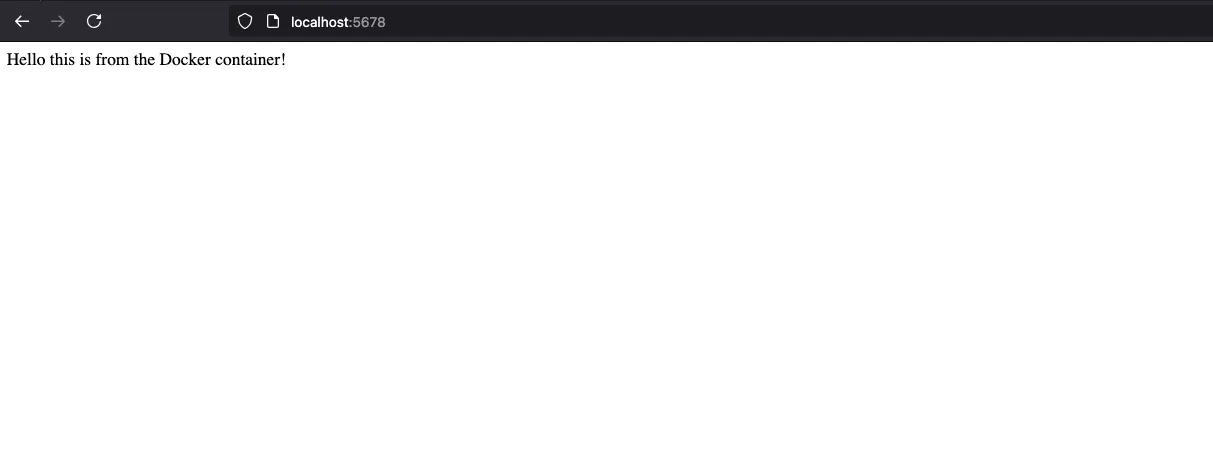
Step 5: Voilà, check your browser
Go to localhost:5678, you should see your msg that is defined in our flask application
Step 6: Simplify the process with Docker Compose
Instead of mapping the ports every time you want to start your app, Docker Compose lets you define everything in a single YAML file.
docker-compose.yml
services:
  web:
    build: .
    ports:
      - "5678:5007"
    volumes:
      - .:/app
    environment:
      - FLASK_ENV=development
    command: python app.py
What does this do?
-
Builds the Docker image from your Dockerfile
-
Exposes your app on port 5678 (mapped to 5007 inside the container)
-
Mounts your project directory so changes reflect immediately (great for development)
Step 8: Run with Docker Compose
docker-compose up --build -d 
Visit localhost:5678
Step 9: Clean up
When you’re done with your application you can close down the container with
docker-compose down